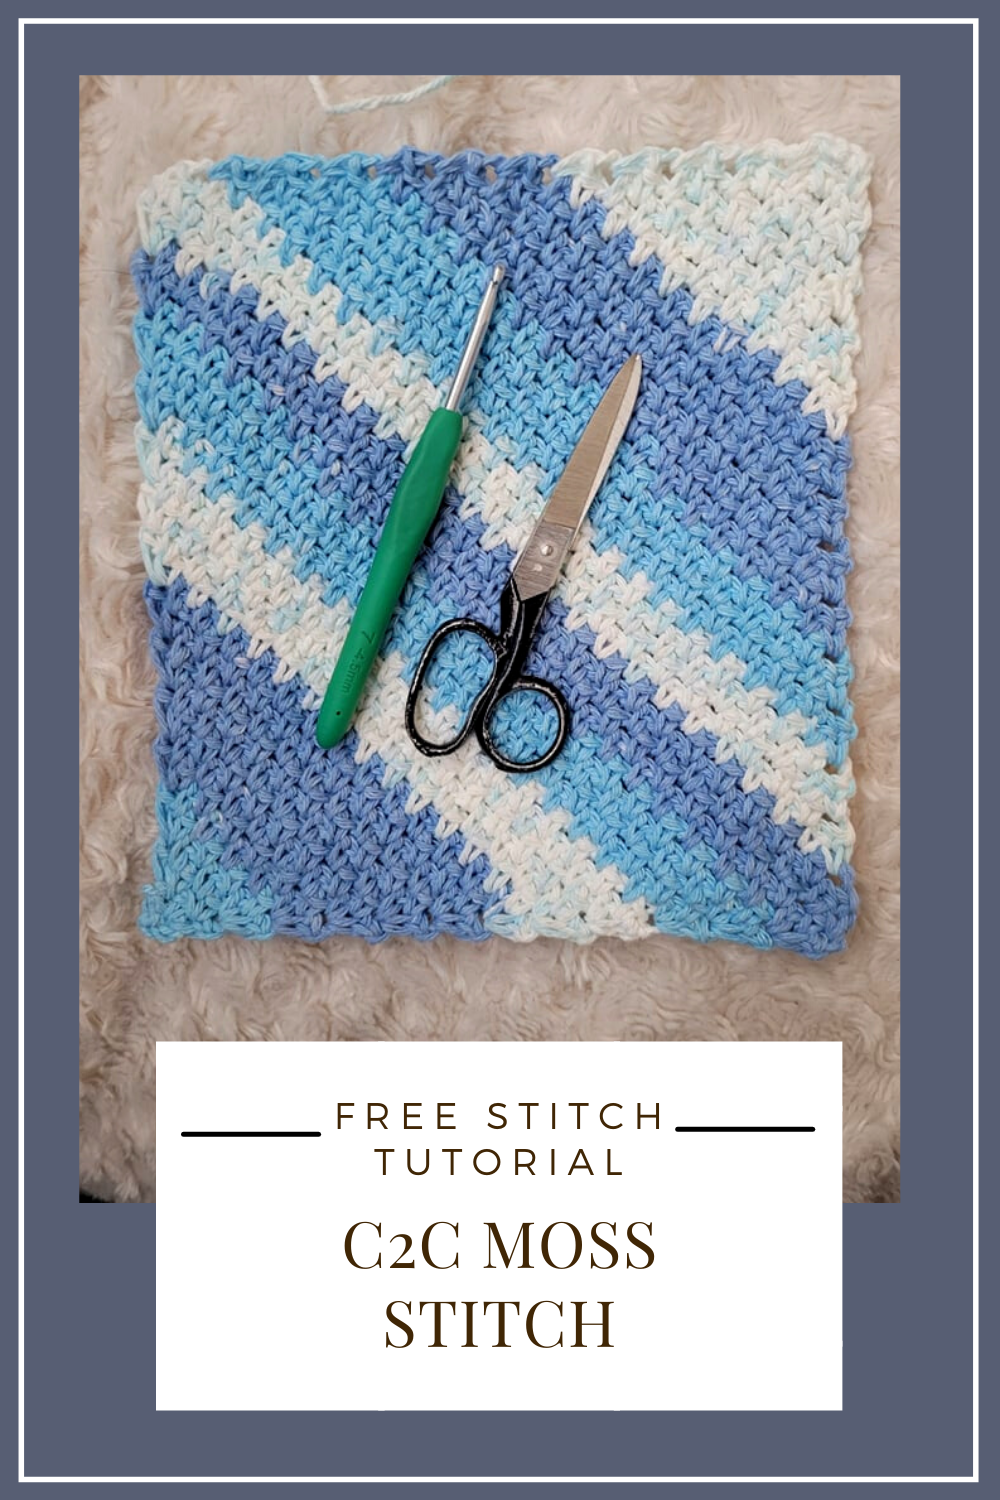
C2C Moss Stitch Crochet Tutorial
I’ve used this stitch combo in a few patterns and I think it’s about time I did a little tutorial for ya’ll!
This stitch is so versatile, you can make blankets, hats, sweaters, and you can also swap colours making it a great stash buster! The Moss Stitch (aka Linen Stitch or Granite Stitch) is usually worked in rows using Single Crochet and Chains. It is a super simple yet beautiful stitch. However, this corner to corner variation makes the stitch go diagonally and the finished product is quite stunning!
Note: I did not invent this stitch, I am just doing a photo tutorial on it because I’ve used it in several designs and love it! Shoutout to whomever invented this gorgeous stitch!
I love this stitch because it looks a little like knitting, has a nice stretch, and has a beautiful drape. I also love the texture when using variegated yarns or when doing colour changes. I would say this is more of an intermediate stitch because it can be tricky to start. So start slow and read carefully and hopefully you can get it!
For this tutorial, I’m going to make a small square using a colour changing yarn, if you were to use a cotton then you can have a dishcloth at the end of the tutorial!
Some other cool patterns you can create with this stitch are: blankets, scarves, and shawls. But two of my favourites are The Wanda Cowl and Handwarmer Set and The Gimme Some Mo’ Sweater. You can check those out below!
The supplies I used for this tutorial are:
Worsted Weight # 4 cotton yarn - Bernat Handicrafter in colour tye dye stripes - but you can use any yarn for this
4.5 mm hook but you can use whichever hook your yarn calls for
Tapestry Needle
Scissors
Key Terms
Ch - Chain
Sc - Single Crochet
Sp - Space
Sl - Slip St
Note
A way to make this simpler. You can add Stitch Markers at the beginning Ch 2 and end of the Ch 1 Sp to help keep track of them.
You will be turning after each row
You Ch counts as a St
Let’s Get Started!
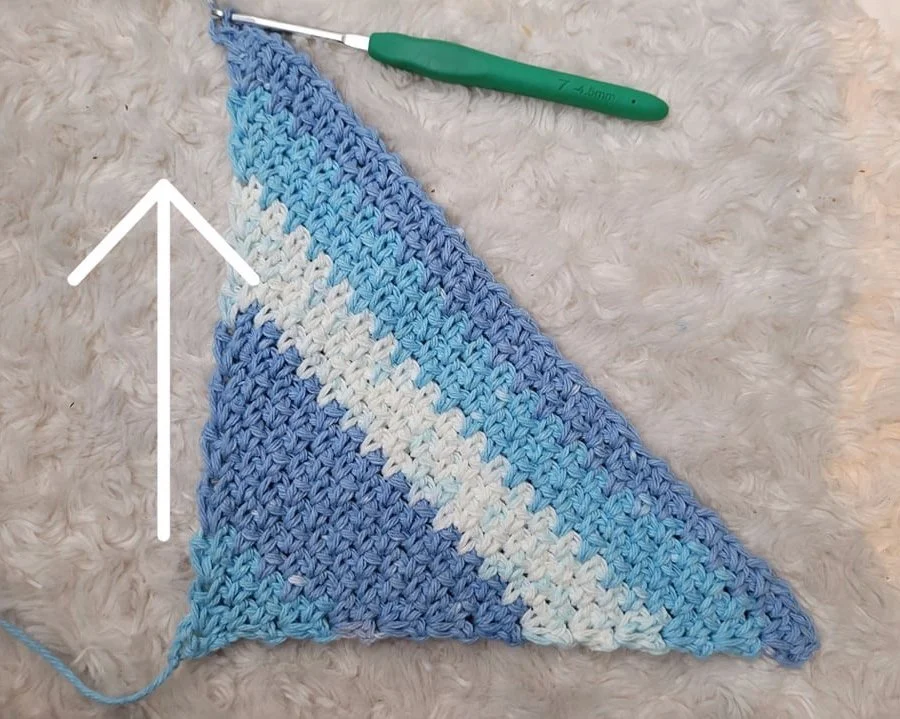
Start with a Ch 3, Sl St into the 1 Ch, turn
Row 1: Ch 2, (Sc, Ch 1, Sc) into the little circle that you made, turn
Row 2: Ch 2, (Sc, Ch 1) in Ch Sp, (Sc, Ch 1, Sc) in Ch 2 Sp, turn
Row 3 (Repeat Row): Ch 2, (Sc, Ch 1) in each Ch 1 Sp across, (Sc, Ch 1, Sc) in the Ch 2 Sp, turn
Repeat Row 3 until your edge is equal to the measurement you like, or, 8 inches if your following along with me
Now, we are going to start decreasing on one side to make a rectangle!
Row 4: Ch 2, (Sc, Ch 1) in each Ch 1 Sp across until you get to the last Ch 1, Sc in the Ch 1 Sp, Sc in the Ch 2 Sp, turn
Notice that there is no Ch 1 between the last 2 Sc. This is VERY important!
Row 5: Ch 2, Sk the first 2 Sc, (Sc, Ch 1) in each Ch 1 Sp across, (Sc, Ch 1, Sc) in the Ch 2 Sp, turn
Repeat Rows 4 and 5 until your longer edge gets to the measurement you desire or 9 inches in your following along with me. You’ll want to finish with a Row 4 with your hook on the decrease side.
Now, we will be decreasing on both sides!
Row 6: Ch 2, Sk the first 2 Sc, (Sc, Ch 1) in each Ch 1 Sp across until you get to the last Ch 1, Sc in the Ch 1 Sp, Sc in the Ch 2 Sp, turn
Again, notice that there is no Ch 1 between the last 2 Sc.
Repeat Row 6 until you’ve done 4 Sc on the row.
Row 7: Ch 2, (Sc, Ch 1) in the Ch 1 Sp, Sc in the Ch 2 Sp, turn
Row 8: Ch 2, Sc in Ch 1 Sp, Sc in Ch 2 Sp, turn
Row 9: Ch 2, Sc in ch 2 Sp, cut and fasten
And you’re done!
I hope you found this tutorial helpful. You can also add a border to this, but I like the edging as is. If you have any question, comments, or suggestions. Please leave them in the comment section at the bottom of the page.
If you want more like this, please sign up for our newsletter!
And follow me on my socials:
If after reading this whole tutorial you find you need some more help. There is this AMAZING video tutorial by Every Trick on the Hook. This is probably one of my favourite video tutorials. She does do things a little bit differently than I do. But I find the visual representation are sometimes easier for people to follow!


