
The Malina Top

This front tie-up top is made to measure your unique body type. It uses a unique but simple lace design that is super flattering. This will be a great spring addition to any wardrobe. This project is perfect for spring and summer!

Thank you so much in supporting my art! You can sell items made from this design in small batches but you must credit Ashly at The Weaving Witch as the designer. You may not mass produce this design. You may not sell or share this pattern. You may not alter or modify this design and claim it to be your own. Also, if you share photos on Social Media of your creations please credit and tag me. Use hashtag #TheWeavingWitch
Instagram: http://www.instagram.com/the.weaving.witch
Facebook: https://www.facebook.com/theweavingwitchco/
Ravelry: https://www.ravelry.com/people/Theweavingwitch
Etsy: https://www.etsy.com/ca/shop/WeavingWitchByAshly
Website: http://www.theweavingwith.com
*this post contains affiliate links, if you click through and make a purchase I receive a small commission at no extra cost to you.
If you would like to buy an ad-free, printable version of this design you can find them here:

Supplies
· Yarn: This pattern is done to your body measurement. I recommend a worsted or Dk weight yarn. The amount of yarn used depends on your size and yarn weight used. For reference, for my top I used 415 yards of Paintbox #4 Worsted/Aran yarn for a size medium.
You can get the exact yarn that I used HERE
· Hook: Use any hook for your recommended yarn size. I used a 5.00 mm hook
· Measuring Tape
· Tapestry Needle
· Scissors
Size Chart
This pattern is written to be completely customizable to your body measurements.
The main measurements you will need are:
Strap: starting ½ inch above your armpit, go over the shoulder until you reach the bottom edge of the same armpit along your back.
Bust: the largest point around your chest and back.
There will be some other measurements as well.
Key (US terms)
Ch – Chain
Sc – Single Crochet
Dc – Double Crochet
St – Stitch
Sl – Slip
Sk – Skip
Rep – Repeat
Specialty Stitches:
Shell Stitch: (Dc, Ch1, Dc, Ch1, Dc, Ch 1, Dc) all in the same stitch
Gauge
Due to the customization of the pattern, no gauge is needed. This garment is a little lacey. So if you notice more holes than you would desire, you may go down a hook size.
Other Notes
· This pattern is for an advanced beginner or can even be done by a beginner who is comfortable with measuring themselves
· Your turning and starting Ch will count as a Dc unless otherwise specified
· The entire top is worked flat and turning after each row
· The pattern is worked top down

The Pattern
Section 1: Straps - Make Two
Ch 7
Row 1: Ch 3, [2Dc, Ch1, 2Dc] into the 7th Ch from the hook, Sk2, Dc in the last Ch, Turn
Row 2: Ch 3, [2Dc, Ch 1, 2Dc] in the Ch Sp, Dc into the turn ch from prev row, turn
Repeat Row 2 until you get to 2 inches less than your Strap length (see sizing)
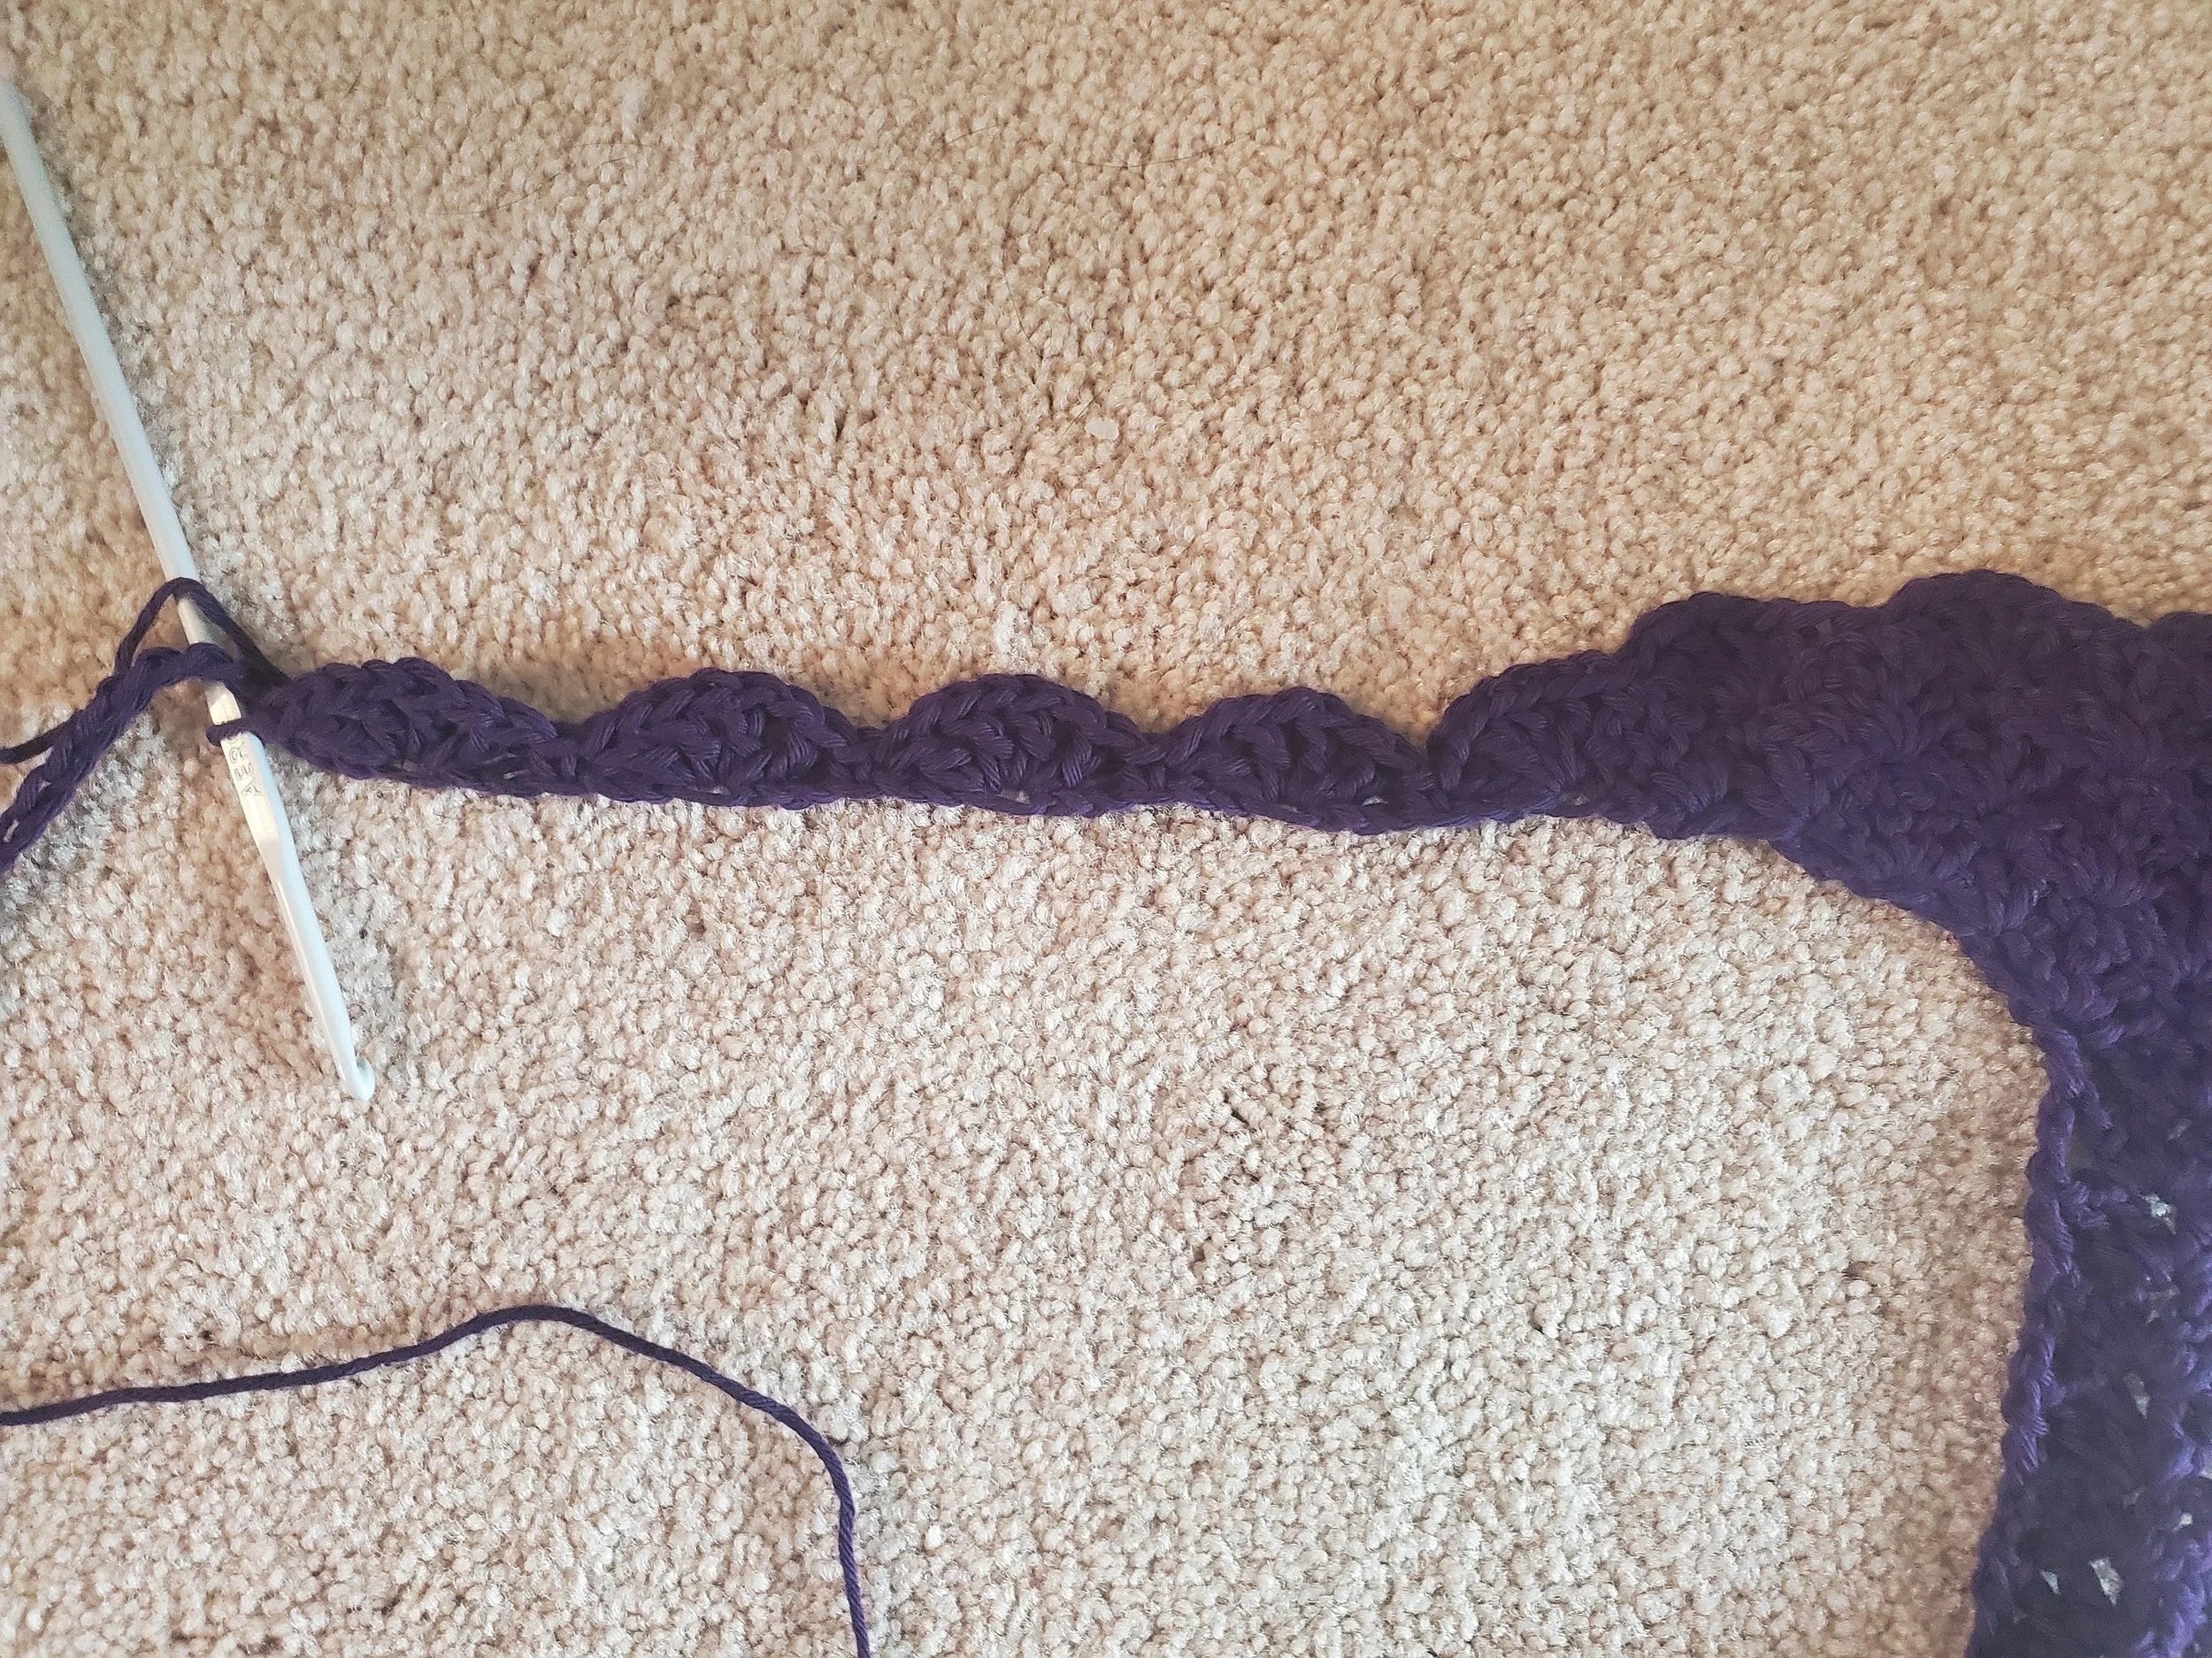
Row 3: Ch 4, [Dc, Ch 1, Dc, Ch1, Dc] all in the first st, Sc into the Ch Sp from prev row, Shell into your turning Ch from prev row, turn
Row 4: Ch 4 (counts as a Dc, ch1 throughout), [Dc, Ch 1, Dc, Ch 1, Dc] all in the first st, * Sc into the 2nd ch sp in the shell from prev row, Shell into the Sc from prev row, rep from * Sc into the 2nd Ch Sp in the last shel, Shell into your turning Ch form prev row, turn
Rep Row 4 until your increase reaches your armpit (Approx 4 rows, or 2 inches)


Do not cut and fasten your second piece and continue to the next section.

Section 2: Body
You will be attaching your straps to each other. To do so, you will need to measure from the front of your armpit, around your back, to the other front of your armpit. You’ll still be doing some increases here so don’t worry if after row 2, you’re top isn’t quite at your full bust measurement yet. You would rather have it measure a little less here so that it doesn’t become too big.
You will be continuing from your second strap piece.

Row 1: Ch 4, [Dc, Ch 1, Dc, Ch 1, Dc] all in the first st, * Sc into the 2nd ch sp in the shell from prev row, Shell into the Sc, rep from * Sc into the 2nd ch sp in the last shell, Shell into your turning Ch from prev row, Ch a multiple of 6 until you reach the measurement above, Shell into the last st of your first piece, ** Sc into the 2nd ch sp in the shell from prev row, Shell into the Sc, rep from ** Sc into the 2nd ch sp in your last shell, Shell into the turning ch from prev row, Turn
Your straps and Ch together should equal a little less than 3 inches of your total bust measurement
Row 2: Ch 4, [Dc, Ch 1, Dc, Ch 1, Dc] all in the first st, * Sc into the 2nd ch sp in the shell from prev row, Shell into Sc, rep from * until you reach your Ch, Shell into the spot of your last Dc ** Sk 2, Sc in next, Sk 2, Shell in next rep from ** until you’ve shelled into the top of the Dc on the other side, then *** Sc into the 2nd ch sp in the shell from prev row, Shell into Sc, rep from *** Sc into the 2nd ch sp in last shell from prev row, Shell into your turn Ch, turn


Row 3: Ch 4, [Dc, Ch 1, Dc, Ch 1, Dc] all in the first st, * Sc into the 2nd ch sp of the shell from prev row, Shell into the Sc from prev row, rep from * Sc into the 2nd Ch Sp in the last shell, Shell into your turning Ch form prev row, turn
Repeat Row 3 until you’re about an ½ or full inch away from your total bust circumference. (see sizing)
Row 4: Ch 4, Dc into same st, Sc into the 2nd ch sp of the shell from prev row, * Shell into Sc, Sc into 2nd Ch Sp of the shell, rep from * Dc, Ch 1, Dc into turning Ch from prev row, Turn
Row 5: Ch 1 (does not count as a st), Sc into first st, Shell into next Sc * Sc into the end Ch Sp of shell from prev row, Shell into Sc rep from * Sc into turning Ch from prev row, turn
Rep Rows 4 and 5 until you’ve reached the length that you desire finishing with a row 5.
Cut and Fasten.

Assembly
Sew on straps to the back of the garment, approx. 4- 5 shells towards the centre where the Ch’s start is a good spot. Make sure it’s not twisted in any way before sewing.
Make a long Chain for the tie in the front. Approx 110-120 should be good. Experiment with the placement. You should be able to loop them through the sides of your Dc and Turning Ch’s with ease. Loop them only once, twice, or all the way down!
You’re Done!!
I hope you enjoyed this pattern and feel free to leave a comment below with any questions or feedback!
If you really like this pattern, you may want to check out The Creeping Willow Crop Here
I love to see all your creations so please tag me in all your makes!
Follow me on my Socials here:
You can sign up for my newsletter below if you want more free patterns like this and other blog posts right to your inbox!

Find me on my socials here:

Looking for something particular my the site?
Use the search bar below!


